Oct 11, 2021
How to Open an RV Awning: Step-by-Step Guide
How to Open an RV Awning: Step-by-Step Guide
A
By Aaron Ammar
See how to open your RV awning safely and efficiently in this step-by-step guide. Get expert tips for hassle-free setup of your RV awning.
Common questions
Blog Post
Education
Opening an RV awning requires six basic steps: ensure proper clearance, loosen rafter knobs, unlatch travel locks, flip the ratchet mechanism to "open," extend the awning using the pull strap, then lock rafters and adjust height. For electric awnings, simply use the control switch after ensuring clearance. Always retract awnings when winds exceed 15-20 mph or when leaving your RV unattended. Most awning damage occurs from wind, so monitoring weather conditions is crucial for safe operation.
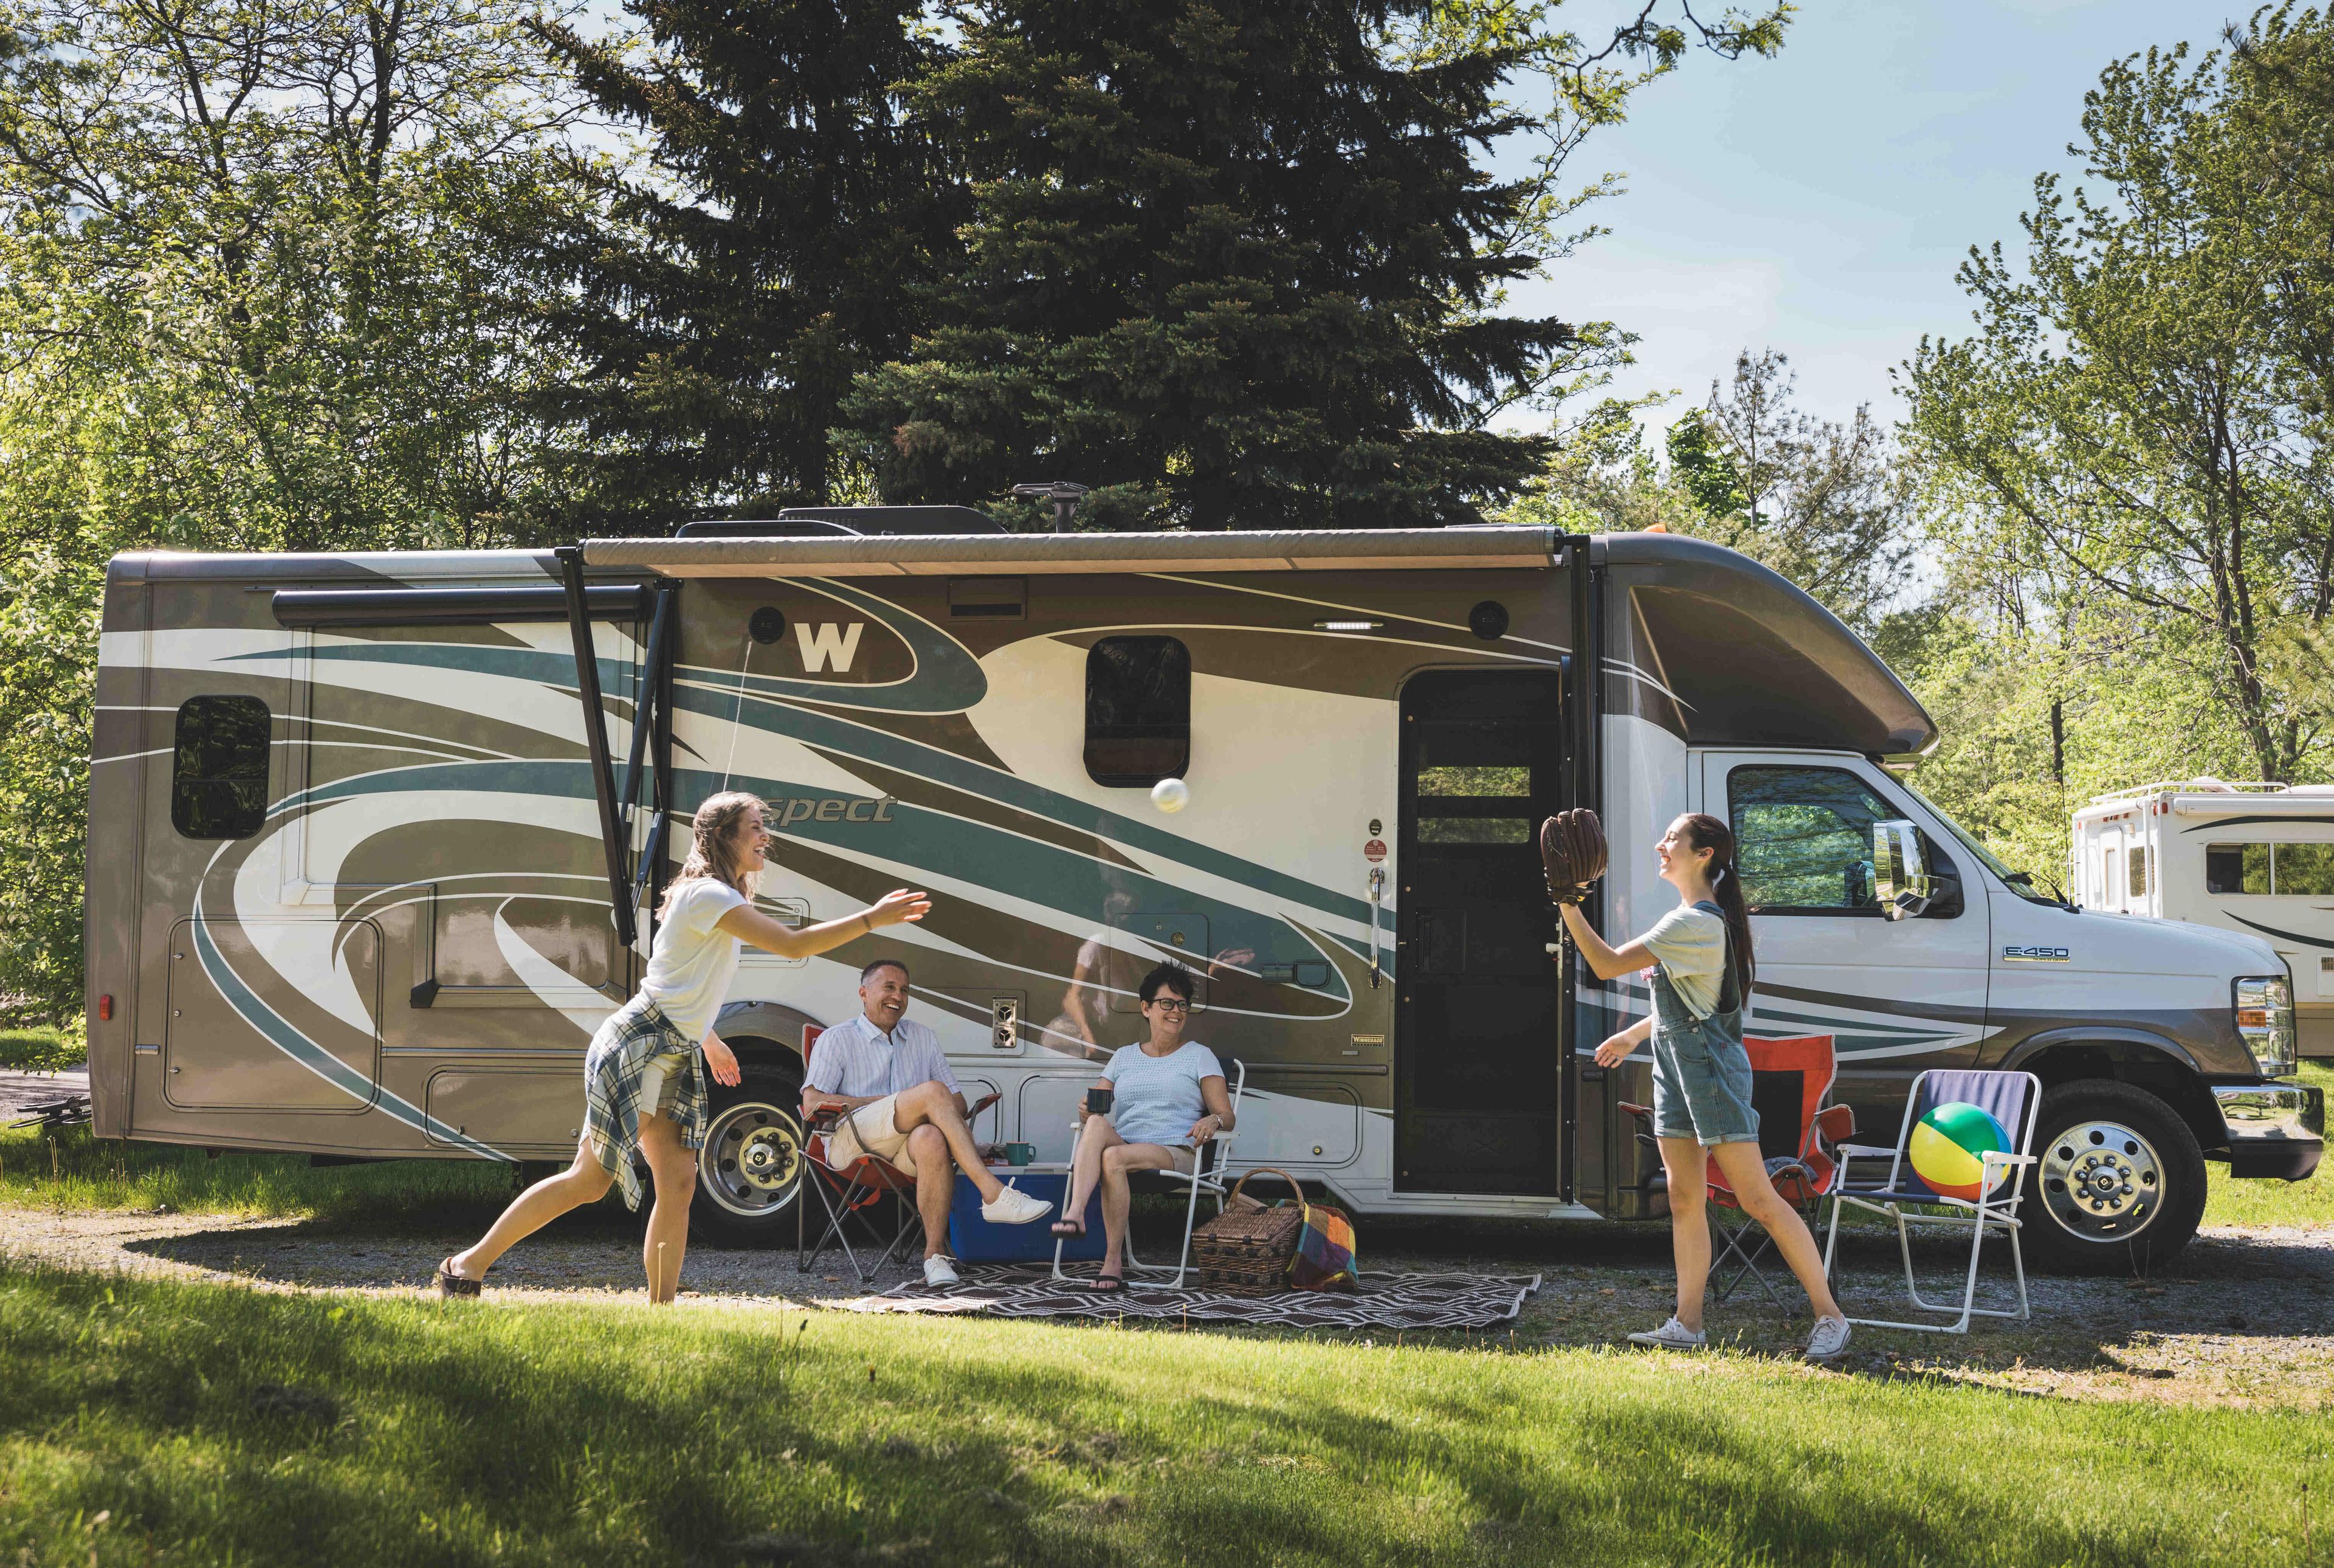
Ready to create that perfect outdoor living space, but staring at your rolled-up awning like it's some kind of puzzle? Don't worry, we've all been there. Whether you're setting up camp for the first time or just got your rental from Outdoorsy, opening an RV awning is actually pretty straightforward once you know the steps. Let's walk through exactly how to get that shade deployed safely so you can get back to the good stuff.
Why Do RV Awnings Need Special Care When Operating?
RV awnings are essentially large horizontal sails that can catch wind and cause expensive damage if not operated properly, with replacement costs ranging from $800-$3,000.
Here's the reality: your RV awning isn't just a simple shade—it's a mechanical system attached to your rig's sidewall that can become a liability in the wrong conditions. Since awnings are most common on towable RVs, understanding travel trailer insurance requirements is crucial—especially comprehensive coverage that protects against wind damage and other hazards that can affect your awning and rig.
Why Awnings Are Vulnerable:
- Wind Sail Effect: Even at 15-20 mph, wind can generate enough force to bend arms or tear fabric
- Mounting Stress: The awning attaches to your RV's sidewall at just a few mounting points
- Spring Tension: Manual awnings use powerful springs that can snap back unexpectedly if not controlled
Financial Reality Check: A destroyed awning doesn't just mean replacing the fabric—you could be looking at sidewall repairs, new mounting hardware, and labor costs that quickly add up. That's why taking two minutes to learn proper operation can save you thousands down the road.
Get a personalized RV insurance quote in minutes and consider adding comprehensive coverage that includes protection for your awning and other RV components.
What Type of RV Awning Do You Have?
Most RVs have either manual awnings (operated by hand with spring-loaded arms) or electric awnings (powered by a motor with push-button control).
Before you start pulling on anything, you need to know what you're working with. Here's how to tell:
Manual Awnings:
- Pull strap visible at the center of the rolled awning
- Black rafter knobs on the support arms
- Require an awning rod (long pole with a hook) for operation
- More common on older RVs and travel trailers
Electric/Power Awnings:
- Control switch inside the RV or remote control
- No visible pull strap
- Automatically extend and retract with motor power
- Standard on most newer RVs
Hybrid Awnings:
- Combine manual operation with automatic locking
- Use the awning rod to extend, but locks automatically
- Common middle-ground option
Pro Tip: Check your owner's manual or look for manufacturer labels on the awning mechanism. If you're renting through Outdoorsy or similar platforms, ask the owner which type you're dealing with—it'll save you confusion later. Many rental owners appreciate renters who understand proper awning operation, and if you're considering renting out your own RV, demonstrating this knowledge builds trust with potential renters.
How Do You Safely Open a Manual RV Awning?
Manual awnings require seven specific steps performed in order: ensure clearance, loosen rafter knobs, unlatch travel locks, flip ratchet to open, extend with pull strap, position support arms, and secure at desired height.
Manual awnings are more hands-on but give you complete control over the process. Here's the step-by-step breakdown:
Step 1: Check Your Setup
- Park on level ground with the awning side facing away from obstacles
- Ensure at least 8-10 feet of clearance for full extension
- Close your RV door (trust us on this one)
Step 2: Loosen the Rafter Knobs
- Locate the black knobs on both awning arms (usually at the back)
- Turn counterclockwise 2-3 turns—don't remove completely
- This allows the support arms to move freely
Step 3: Release Travel Locks
- Find the travel locks/latches on both support arms
- These prevent movement during travel—release them now
- Some RVs have additional tie-downs or bungee cords to remove
Step 4: Flip the Ratchet Mechanism
- Use your awning rod to locate the locking lever (front of roller tube)
- Flip it to the "roll down" or "open" position
- You should hear/feel it click into place—this is crucial
Step 5: Extend the Awning
- Hook the awning rod into the pull strap loop (center of awning)
- Walk backward slowly while pulling—don't yank or rush
- Keep tension steady as the fabric unrolls evenly
Step 6: Position Support Arms
- Slide the inner arms up the outer arms until they click into place
- Do this on both sides—you should hear the locking mechanism engage
Step 7: Set Height and Tension
- Adjust height using the handles on the support arms
- Tighten rafter knobs to secure everything in position
- Create a slight pitch for water runoff (lower one side slightly)
Common Mistakes to Avoid:
- Forgetting to flip the ratchet (awning won't extend)
- Extending too quickly can damage the fabric or mechanism.
- Not securing the pull strap afterward (creates a tripping hazard)
How Do You Open an Electric RV Awning?
Electric awnings are simpler to operate: ensure clearance, locate the control switch inside your RV, press 'extend,' and monitor the awning until fully deployed.
Electric awnings take most of the work out of the process, but you still need to pay attention during operation:
Step 1: Pre-Operation Check
- Verify clearance on the awning side (trees, neighbors, obstacles)
- Ensure your RV is level and stabilized
- Check that the entry door can still open with the awning extended
Step 2: Locate Controls
- Find the awning switch inside your RV (usually near the door)
- Some models have remote controls or smartphone apps
- The switch typically has "Extend" and "Retract" positions
Step 3: Extend the Awning
- Press and hold the "Extend" button
- Watch through a window or have someone spot outside
- Stop when the awning is fully extended (you'll see the roller tube)
Step 4: Final Positioning
- Some electric awnings allow height adjustment via controls
- Others require manual adjustment of the support legs
- Set a slight pitch for water drainage
Important Safety Notes:
- Don't overextend—this can damage the motor
- If the awning stops extending, release the button immediately
- Many electric awnings have wind sensors that auto-retract
Troubleshooting Electric Awnings:
- No response to switch: Check circuit breaker or fuse
- Awning extends partially, then stops: Possible obstruction or limit switch issue
- Motor runs, but awning doesn't move: May need professional service
What Are the Most Important Safety Tips for RV Awning Operation?
Never operate an awning in winds over 15-20 mph, always retract when leaving your RV, and regularly inspect all moving parts for wear or damage.
Awning safety isn't just about following steps—it's about understanding the risks and planning accordingly. Here's what experienced RVers know:
Wind Speed Guidelines:
- 0-10 mph: Generally safe for awning use
- 10-15 mph: Monitor closely, secure guy lines if available
- 15-20 mph: Time to retract—this is where damage typically starts
- 20+ mph: Dangerous for any awning, regardless of type
Visual Wind Indicators:
- Plastic cups or napkins blowing off your table = too windy
- Tree branches swaying significantly = probably 15+ mph
- Flags fully extended = definitely too windy for awnings
The "Leave and Retract" Rule: Never leave your awning out when departing your RV, even for short trips. The weather can change rapidly, and you won't be there to respond. Many seasoned RVers also retract awnings overnight to avoid surprise wind gusts.
According to RV industry experts, most RV awnings should be retracted when sustained winds exceed 15-20 mph, with many manufacturers recommending even more conservative thresholds for safety.
Regular Maintenance Checks:
- Inspect fabric for tears, weak spots, or excessive wear
- Check all moving parts for smooth operation
- Clean debris from tracks and mechanisms
- Lubricate pivot points annually
Emergency Procedures: If your awning gets caught in unexpected wind:
- Don't panic or rush
- Have one person control the pull strap (manual) or switch (electric)
- If possible, lower the awning arms to reduce wind catch
- Retract immediately—don't try to "wait it out"
How Do You Properly Close an RV Awning?
Closing an awning is essentially the opening process in reverse: lower arms, loosen rafter knobs, flip the ratchet to the retracted position, and carefully guide the awning as it rolls up.
Proper closure is just as important as proper opening—maybe more so, since this is when many accidents happen.
Manual Awning Closure:
- Prepare the Area
- Remove any items from under the awning
- Sweep off leaves, pine needles, or debris from fabric
- Lower the Awning
- Unlock height adjustment handles on both support arms
- Lower arms gradually, alternating sides if working alone
- Release Tension
- Loosen rafter knobs on both sides
- Slide the inner arms down the outer arms until they lock
- Set Retract Mode
- Use the awning rod to flip the ratchet mechanism to the "roll up" position
- Make sure it clicks securely into place
- Guide the Retraction
- Hold the pull strap firmly (don't let it go!)
- Walk toward the RV as spring tension rolls up the awning
- Control the speed—don't let it slam shut
- Secure for Travel
- Replace travel locks on both support arms
- Wrap and secure the pull strap
- Double-check all latches before hitting the road
Electric Awning Closure:
- Clear the area of obstacles and people
- Press and hold the "Retract" button
- Monitor the retraction process
- Stop when the awning contacts the RV sidewall
- Don't continue pressing once fully retracted (damages motor)
When Should You Seek Professional Help with RV Awning Issues?
Contact a professional if you experience motor failure, damaged mounting points, torn fabric that affects operation, or any structural damage to support arms.
While basic operation is DIY-friendly, some awning issues require professional attention:
Definitely Call a Pro:
- Motor runs, but awning doesn't move (electric awnings)
- Visible damage to mounting brackets or RV sidewall
- Support arms bent or won't lock into position
- Fabric tears that affect the rolling mechanism
- Electrical issues with switches or controls
Probably DIY-Friendly:
- Cleaning fabric and mechanisms
- Adjusting tension or height
- Replacing worn pull straps
- Basic lubrication of moving parts
When to Consider Replacement:
- Fabric has multiple tears or significant fading
- Support arms show signs of metal fatigue
- Mounting points are loose or damaged
- The electric motor has failed multiple times
Remember: awning repairs can be complex and potentially dangerous due to spring tension and mounting forces. When in doubt, RV insurance with roadside assistance can often connect you with qualified technicians who understand RV-specific challenges.
The weather can change rapidly overnight, and you won't be awake to respond to sudden wind gusts. Most experienced RVers retract awnings at night as a safety precaution, regardless of current conditions.
Hybrid awnings combine manual extension (using an awning rod) with automatic locking mechanisms. You still manually pull them out, but they lock into position automatically without needing to manually secure the support arms.
Check that all travel locks are released and rafter knobs are loosened. Sometimes awnings have additional securing mechanisms like spring clips or extra latches that need to be disengaged before extension is possible.
Clean your awning at least twice per season or whenever you notice dirt buildup. Use mild soap and water, and always ensure the awning is completely dry before retracting to prevent mold and mildew.
Some sagging is normal, especially in hot weather when fabric expands. However, excessive sagging may indicate worn fabric, loose tension, or damaged support arms that need professional attention.
Roamly Insurance Group, LLC ("Roamly") is a licensed general agent for affiliated and non-affiliated insurance companies. Roamly is licensed as an agency in all states in which products are offered. Roamly license numbers. Availability and qualification for coverage, terms, rates, and discounts may vary by jurisdiction. We do not in any way imply that the materials on the site or products are available in jurisdictions in which we are not licensed to do business or that we are soliciting business in any such jurisdiction. Coverage under your insurance policy is subject to the terms and conditions of that policy and is ultimately the decision of the buyer.
Policies provided by Roamly are underwritten by Spinnaker Insurance Company, Progressive Insurance Company, Liberty Mutual Insurance Company, Foremost Insurance Company, National General Insurance, Mobilitas Insurance Company, and others.
© 2026 Roamly All rights reserved.